
When it comes to rocking your favorite lipstick or gloss, the secret to a flawless finish isn’t just in the product — it’s in the prep. Your lips are a delicate canvas, and a little extra care can go a long way in enhancing your lip color’s look and longevity. A well-rounded lip care routine smooths, hydrates, and nourishes your lips, ensuring your makeup glides on effortlessly and stays put. Whether aiming for a bold matte or a glossy sheen, healthy lips are the ultimate foundation for any look. Here are the essential steps for achieving a perfect pout!
Source: ThriveCausemetics.com
Step 1: Create a Smooth Canvas
The first step to flawless lips? Exfoliation. An exfoliating lip scrub is the MVP for removing dead skin cells and creating a smooth, even base for your lipstick or gloss. A well-exfoliated surface ensures your lip color applies seamlessly and doesn’t cling to dry patches.
- To gently exfoliate your lips, start with a pea-sized amount of lip scrub and use light, circular motions with your fingertip. Avoid scrubbing too hard — your lips are delicate, and a gentle touch is all you need.
- For a nourishing, nonirritating experience, opt for scrubs made with natural ingredients like sugar, shea butter, and avocado oil. If you’re feeling DIY, mix a teaspoon of sugar with a drop of honey or olive oil for an easy at-home solution.
- Exfoliate 1-2 times a week, and always follow up with a hydrating lip balm to lock in moisture. Smooth lips make all the difference, and this step will have your pout looking polished and ready for color. Considering market research shows 81% of women regularly use a lip balm, we don’t think you’ll have a problem remembering to slather it on!
Step 2: Hydration is Key
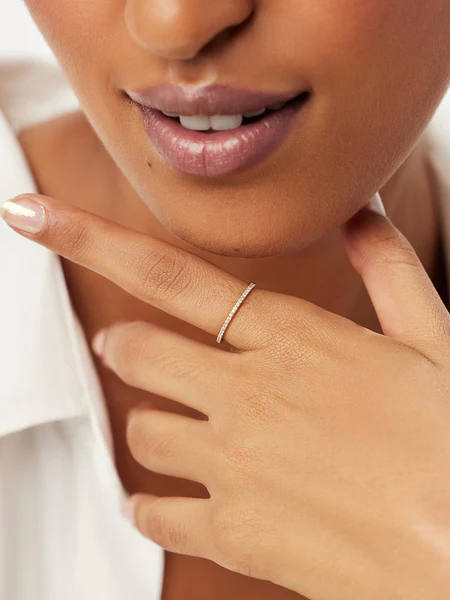
Healthy, hydrated lips are the backbone of any stunning lip look. That’s where a hydrating lip tint comes in — it’s the ultimate multitasker, offering both a boost of moisture and a subtle wash of color. It’s perfect for keeping your lips soft and supple while adding a natural, effortless tint.
- Unlike the skin on the rest of the body, your lip skin comprises a thin stratum corneum and no hair or oil glands, making them more prone to becoming chapped. Hydrating lip tints are especially handy for daily use, providing long-lasting hydration in any season. In cold, dry winters or scorching summers, they act as a protective barrier against harsh weather conditions, preventing chapping and dryness.
- Lip tints are super low-maintenance — perfect for on-the-go touch-ups without a mirror! Simply apply directly to your lips for skin-softening hydration and to enhance your natural lip color.
Source: ThriveCausemetics.com
Step 3: Choose Your Color and Texture
Now that your lips are smooth and hydrated, it’s time for the fun part — picking the perfect color and texture to complete your look! The right shade and finish can elevate your lip game, whether you’re going for an everyday vibe or a bold, glamorous statement.
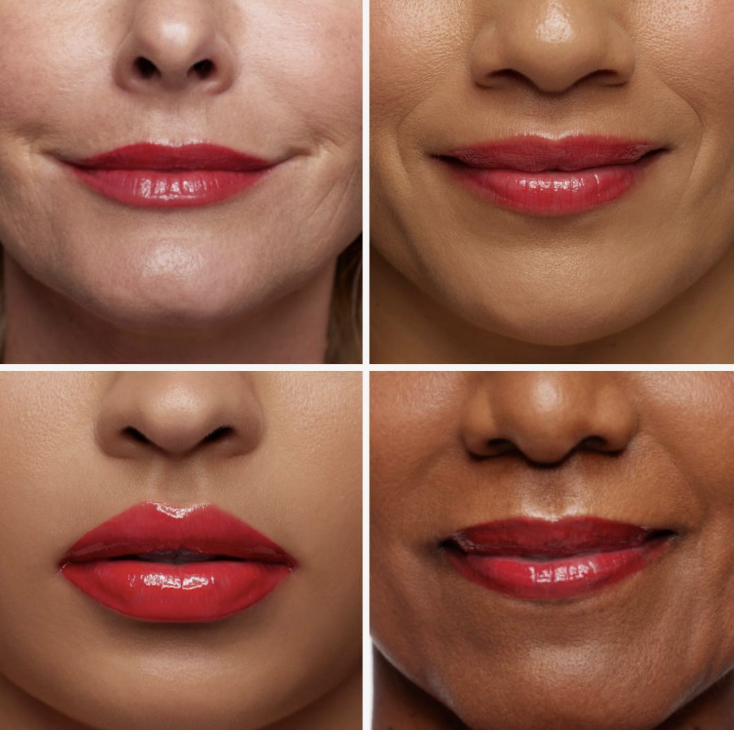
- Start by choosing a lipstick color that complements your skin tone and suits the occasion. Soft pinks and corals are flattering for fairer tones, while deeper skin tones shine in rich berries and bold reds. Neutral tones like mauves and warm browns work well for all complexions and are perfect for a polished, everyday look.
- Next, think about the finish. Matte lipsticks are ideal for a sophisticated, velvety appearance, but they pair best with well-prepped, hydrated lips to avoid accentuating dryness. On the other hand, shimmery or glossy finishes offer a playful, light-reflecting glow, great for adding dimension and a youthful touch.
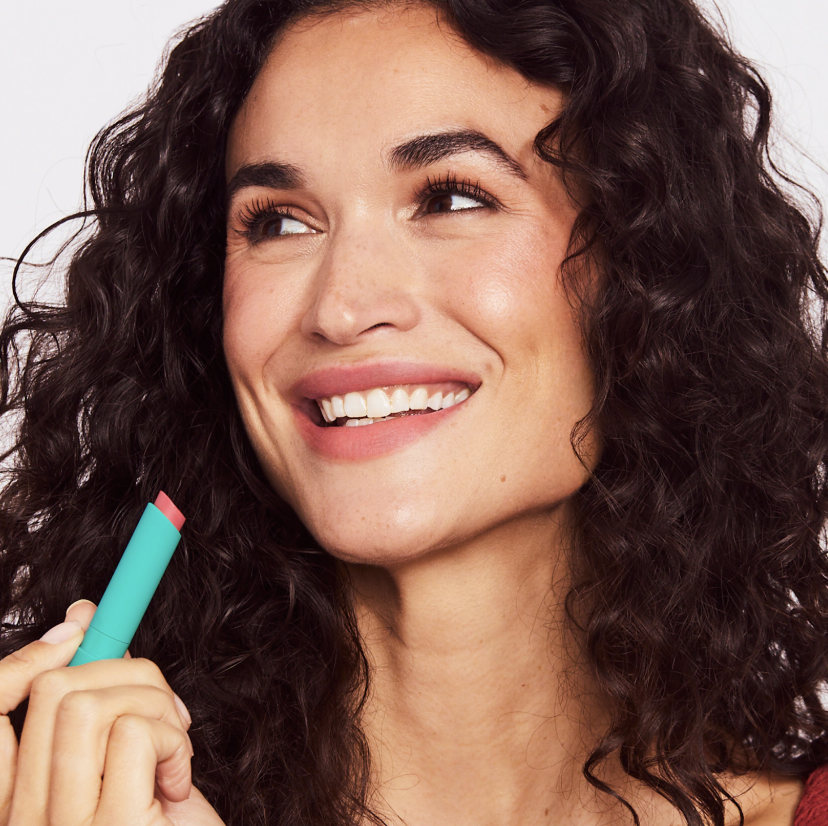
- If you’re looking for convenience, a lip crayon is a must-have. This multitasking wonder lets you define and fill in your lips in one easy step, making it perfect for on-the-go touch-ups. It’s great for precision without the commitment of a full lipstick.
Source: ThriveCausemetics.com
Step 4: Enhance Fullness With Layered Products
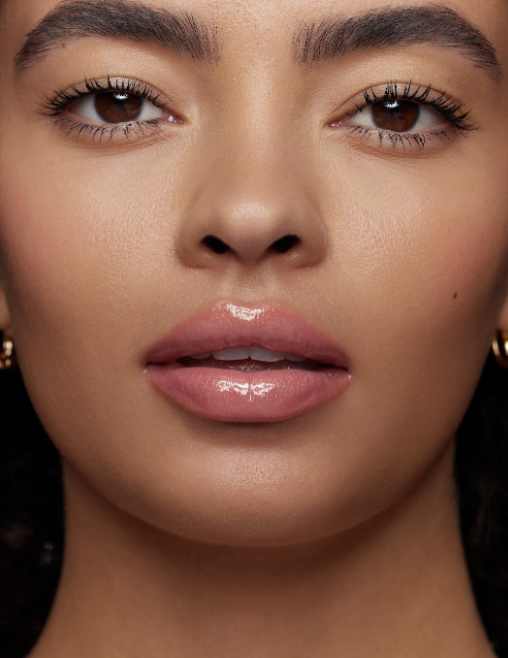
If you’re looking to add a little extra volume and shine, a lip plumper gloss is your secret weapon. Not only does it give your lips a glossy finish, but it also creates the illusion of fullness, thanks to safe and effective plumping ingredients like peptides and sodium hyaluronate.
- For the best results, apply a thin layer of lip plumper either on its own for a natural, glossy pout or as a topper over your favorite lipstick. Focus the gloss in the center of your lips to enhance the plumping effect and make your pout look more dimensional.
- If you’re new to lip plumpers, start with a formula that provides a refreshing, cool sensation rather than an intense sting. This way, you’ll get the volumizing benefits without discomfort or dryness.
- Layering products like a hydrating lip tint or lip crayon beneath your gloss can add depth, keep your lips feeling soft, and give them a fuller, high-shine effect. Remember that the plumping effect is temporary (usually lasting an hour or two), but it’s perfect for photos, special events, or whenever you want to boost your look.
The Final Word
Prepping your lips is the ultimate secret to achieving flawless lipstick and gloss application. By following these simple steps — exfoliating to create a smooth canvas, hydrating to keep your lips soft and supple, choosing the perfect color and texture, and enhancing fullness with layered products — you can elevate your lip care routine and enjoy healthier, more beautiful lips every day.
Incorporating these essentials into your routine boosts the look and longevity of your lip products and ensures your lips stay nourished and protected. So, whether you’re rocking a bold matte or a glossy finish, you’ll always have a pout that feels as good as it looks. Ready to level up your lip game? Start with these tips, and let your lips do the talking!